
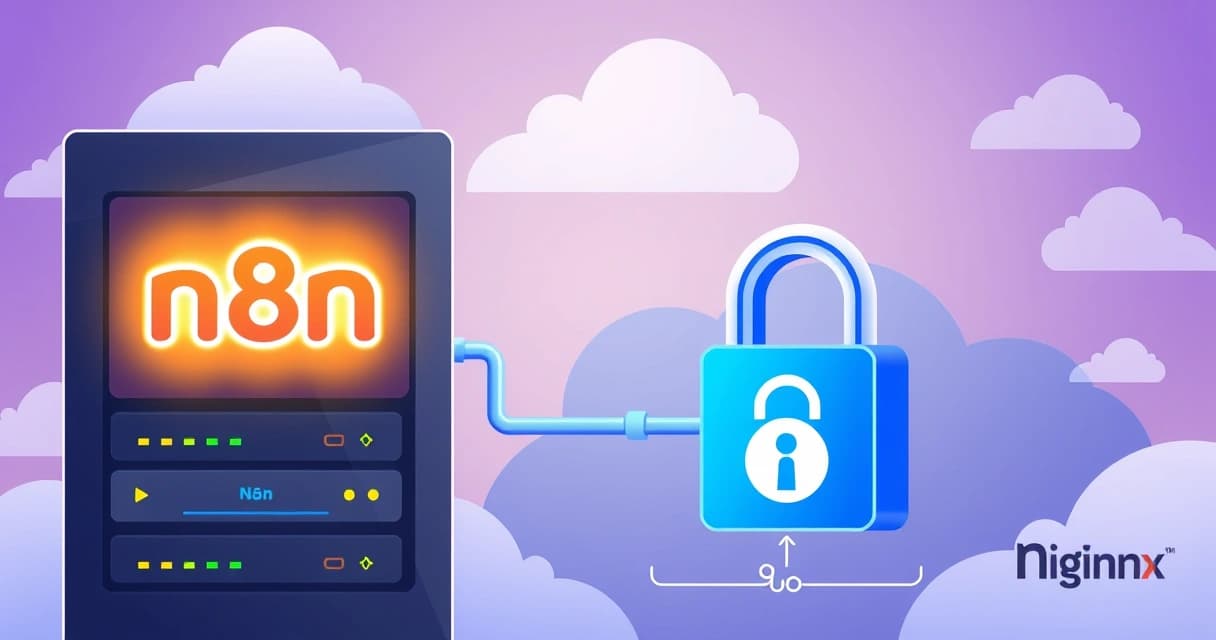
Hosting n8n on a Virtual Private Server (VPS) involves installing Node.js, setting up a database like PostgreSQL, configuring n8n, and securing it with a reverse proxy like Nginx and SSL certificates from Let's Encrypt. This process provides dedicated resources, allowing for greater control and scalability compared to shared hosting environments. As of April 2026, a typical setup on an Ubuntu 24.04 LTS VPS can be completed within a few hours for users with basic Linux command-line familiarity.
A VPS offers an isolated environment, ensuring that n8n's performance isn't impacted by other users on the same physical server. This makes it an ideal choice for running critical automation workflows that require consistent uptime and predictable resource allocation. Users gain root access, enabling full customization of the operating system and software stack to meet specific n8n requirements.
Prerequisites for Your n8n VPS Setup
Before deploying n8n, several foundational elements need to be in place. These prerequisites ensure a stable and secure environment for your automation workflows. A well-prepared VPS minimizes potential issues during and after the n8n installation process.
Choosing the Right VPS
Selecting an appropriate VPS is the first critical step. Consider factors like RAM, CPU cores, storage (SSD is highly recommended), and bandwidth. For a basic n8n instance handling moderate workflows, a VPS with at least 2GB RAM and 1-2 CPU cores is a good starting point. Larger or more complex workflows will necessitate more resources. Providers offer various plans, with entry-level VPS options often starting around $5-$10 per month as of 2026-04. When evaluating options, look for a provider that offers reliable uptime and responsive support, especially if you're new to self-hosting.
Opting for a VPS from a reputable provider ensures you have a stable foundation. Some users prefer a managed VPS provider like Valebyte for additional support, though this guide focuses on a self-managed approach. For optimal performance, choose a VPS located geographically close to your primary users or external services n8n will interact with.
Initial Server Setup (Ubuntu 24.04 LTS)
After provisioning your VPS, you'll typically receive an IP address and root login credentials. The first step involves connecting via SSH and performing initial security and system updates. I tested this on Ubuntu 24.04 LTS, which offers long-term support and stability.
Access your server using an SSH client from your local machine:
ssh root@your_vps_ip_addressOnce logged in, it's crucial to update your system's package list and upgrade existing packages to their latest versions. This ensures you have the most recent security patches and software fixes available.
sudo apt update && sudo apt upgrade -yNext, create a new non-root user with sudo privileges for daily operations. Using a non-root user improves security by limiting potential damage from accidental commands.
sudo adduser n8nuserFollow the prompts to set a strong password. Then, add the user to the sudo group:
sudo usermod -aG sudo n8nuserFinally, configure the Uncomplicated Firewall (UFW) to allow essential connections. At a minimum, permit SSH (port 22), HTTP (port 80), and HTTPS (port 443). UFW provides a user-friendly interface for managing Netfilter firewall rules, as detailed in the Ubuntu Server documentation on security.
sudo ufw allow OpenSSHsudo ufw allow http sudo ufw allow httpssudo ufw enableConfirm the firewall status to ensure rules are active: sudo ufw status. Log out from root and log back in as your new n8nuser to proceed with further installations.
Installing Essential Software for n8n
n8n is a Node.js application, and for production use, it benefits significantly from a robust database and a reverse proxy. This section outlines the installation of Node.js, npm, PostgreSQL, and Nginx.
Node.js and npm Installation
n8n requires Node.js to run. It's best practice to install the latest Long Term Support (LTS) version of Node.js. As of 2026-04, this would likely be Node.js 20.x or a newer LTS release. We'll use NodeSource's repository to ensure we get the correct version.
curl -fsSL https://deb.nodesource.com/setup_lts.x | sudo -E bash -sudo apt install -y nodejsVerify the installation by checking the Node.js and npm versions. npm (Node Package Manager) is included with Node.js and is essential for installing n8n.
node -vnpm -vYou should see output similar to v20.11.1 for Node.js and 10.2.4 for npm, depending on the exact LTS version installed.
PostgreSQL Database Setup
While n8n can use SQLite for smaller setups, PostgreSQL is highly recommended for production environments due to its scalability, reliability, and concurrency handling. Install PostgreSQL and its client tools:
sudo apt install -y postgresql postgresql-contribAfter installation, switch to the PostgreSQL user to create a new database and user for n8n. The PostgreSQL documentation provides comprehensive details on database administration.
sudo -i -u postgrescreateuser --pwprompt n8nusercreatedb -O n8nuser n8ncd ~exitYou'll be prompted to set a password for the n8nuser database user. Choose a strong, unique password and keep it secure; you'll need it when configuring n8n.
Nginx Reverse Proxy Installation
Nginx will act as a reverse proxy, directing web traffic to your n8n application and handling SSL termination. This provides an additional layer of security and allows n8n to run on a non-standard port while being accessible via standard HTTP/HTTPS ports.
sudo apt install -y nginxAfter installation, enable and start Nginx:
sudo systemctl enable nginxsudo systemctl start nginxYou can verify Nginx is running by navigating to your VPS's IP address in a web browser; you should see the default Nginx welcome page.
Deploying n8n on Your VPS
With the foundational software in place, the next step is to install n8n itself and configure its environment. This involves downloading the n8n package and setting up critical environment variables for production use.
Downloading and Installing n8n
You can install n8n globally using npm. This makes the n8n command available system-wide.
sudo npm install -g n8n@latestThis command fetches the latest stable version of n8n from the npm registry and installs it. After installation, you can test if n8n runs by simply typing n8n in your terminal. However, for a production setup, we need proper configuration and a persistent service.
Configuring n8n for Production
n8n relies on environment variables for its configuration, especially in a production setting. Create a directory for your n8n data and a .env file within it. This keeps sensitive information separate from your application code and makes configuration management easier.
mkdir ~/.n8ncd ~/.n8nvi .envPopulate the .env file with essential variables. The N8N_HOST should be your domain name, and the DB_TYPE and DB_POSTGRESDB_DATABASE, DB_POSTGRESDB_HOST, DB_POSTGRESDB_PORT, DB_POSTGRESDB_USER, and DB_POSTGRESDB_PASSWORD variables point to your PostgreSQL setup. The WEBHOOK_URL is crucial for external services to communicate with your n8n workflows.
# .env file exampleN8N_HOST=your.domain.comN8N_PORT=5678# Use a strong, randomly generated secret for encryption. This is critical.N8N_ENCRYPTION_KEY=YOUR_VERY_STRONG_ENCRYPTION_KEY_HERE# Database configurationDB_TYPE=postgresDB_POSTGRESDB_DATABASE=n8nDB_POSTGRESDB_HOST=localhostDB_POSTGRESDB_PORT=5432DB_POSTGRESDB_USER=n8nuserDB_POSTGRESDB_PASSWORD=YOUR_POSTGRES_USER_PASSWORD# Webhook URL (replace with your actual domain)WEBHOOK_URL=https://your.domain.com/Replace your.domain.com, YOUR_VERY_STRONG_ENCRYPTION_KEY_HERE, and YOUR_POSTGRES_USER_PASSWORD with your actual values. The encryption key should be a long, random string (e.g., generated with openssl rand -base64 32). n8n will run on port 5678, which Nginx will proxy.
Setting Up n8n with Systemd for Reliability
To ensure n8n starts automatically on boot and recovers gracefully from crashes, we'll configure it as a systemd service. Systemd is the default init system for Ubuntu and provides robust process management capabilities, as documented on freedesktop.org.
Create a systemd service file for n8n. This file defines how the operating system should manage the n8n process.
sudo vi /etc/systemd/system/n8n.serviceAdd the following content to the service file. Ensure the User and Group match the non-root user you created earlier (n8nuser).
[Unit]Description=n8n-serverAfter=network.target[Service]Type=simpleUser=n8nuserGroup=n8nuserWorkingDirectory=/home/n8nuser/.n8nExecStart=/usr/bin/n8n --tunnelHealthCheck --auto-webhook-urls# Or, if n8n is not globally installed, specify the full path to the executable:# ExecStart=/home/n8nuser/.npm-global/bin/n8n --tunnelHealthCheck --auto-webhook-urlsRestart=alwaysRestartSec=10TimeoutStartSec=60EnvironmentFile=/home/n8nuser/.n8n/.env[Install]WantedBy=multi-user.targetSave and close the file. Now, reload the systemd daemon to recognize the new service, then enable and start n8n:
sudo systemctl daemon-reloadsudo systemctl enable n8n.servicesudo systemctl start n8n.serviceYou can check the status of your n8n service to ensure it's running correctly:
sudo systemctl status n8n.serviceIf everything is configured properly, you should see an


